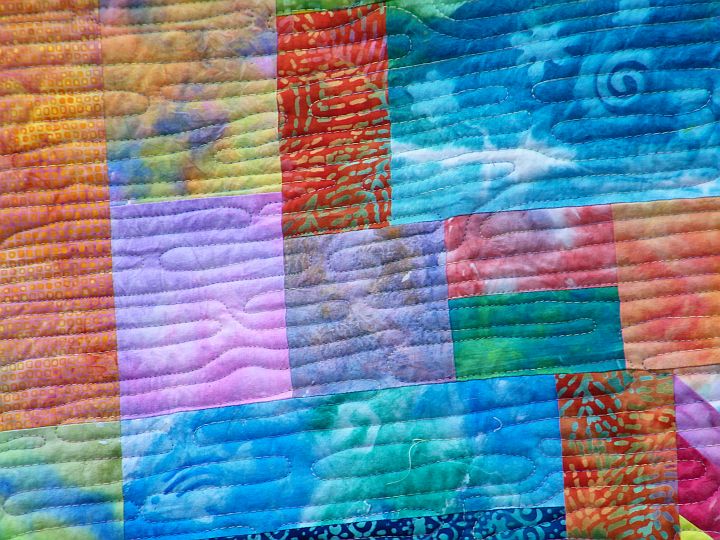
 Sunlight Project Quilt 2011
For many years, I have been doing sunpainting. I started out using the Pebeo setacolor sunpaint fabric paints. First a brief history...
Sunpainting was discovered in an island setting where they left some dyed fabric out to dry. While they were gone, a palm frond fell on the fabric. When the frond was lifted off of the dry fabric, the image of it was left behind. The technique is simple. The results are beautiful and unpredictable. What follows are basic instructions for sunpainting.
 Step 1
Select your fabric. One hundred percent cotton works best but you can get good results with blends and other fibers. You will probably want to test your paint and fiber combination before you commit to a big project with it. Dampen your fabric. Lay it out on a plastic or other waterproof surface. Old shower curtains and vinyl tablecloths work well as do garbage bags, vegetable bags and shopping bags. Smoother surfaces typically result in sharper prints, but wrinkles in the plastic can also add interest to the final product.
Step 2
Mix your paint. The process requires a fairly dilute paint no matter what brand you are using. The traditional translucent fabric paints are already thin so a 2 to 1 (water to paint) dilution is a good starting point. (Always read and follow the directions on the bottle for optimal results.) Craft paints and opaque fabric paints tend to be thicker. They should be diluted about 3 or 4 to 1 (water to paint). It isn't rocket science. You do not have to be precise. The only problem you will encounter is getting it too dilute. Even then you can still work with it. NOTE: It is called fabric paint because it is used to paint fabric. That means it will paint any fabric including what you are wearing. Trust me. I know. I have a special set of clothes I wear when painting. They didn't start out that way, but it is probably OK to wear your favorite comfortable horribly stained shirt while you are doing something you love to do. Right?
 Step 3
Apply your paint to the fabric. Drip, splash, immerse, paint, swirl, flick, spray. It doesn't matter. The paint is going to move on the surface of the fabric. You want to cover the surface well. You will not get an image on fabric that does not have paint. You will typically get a better image from a darker color. Not all colors and brands of paint move the same. For example the pink Pebeo colors will almost certainly not move very far and they will typically leave more color under the object.
 Step 3 cont.
The picture above shows the damp fabric covered with paint. You probably remember your grade school art teacher telling you to use the whole page. That applies for sunpainting as well. It is easy to miss getting paint all the way to the edges of the fabric. There are many reasons for that, some of them good, including being too close to the edge of your plastic underlayment or too close to the piece of fabric next to it. I usually start with a piece of fabric slightly larger than my final goal just to be sure I have an evenly coated surface. Yes, you can use one color. Yes, you can use more than one color. Just keep your old color mixing lessons in mind. The paint will move and mix together. You will get lovely blends. You can get unlovely muddy colors if you are not careful.
 Step 4
Place objects on the surface of the fabric. Plant material is fantastic but any waterproof object will work. Make sure the objects are pressed against the fabric. Thick waxy leaves will tend to ripple and have gaps. Softer leaves and younger leaves tend to wilt onto the fabric which gives a good impression. Notice in the picture above that the grasses are not laying flush with the surface. You may use small rocks or glass decorator beads on top of the leaves to hold them down or in place if it is windy. NOTE: Be careful choosing plant material to avoid poisonous plants. Do not strip any plant or tree of all of its leaves. Please be respectful of your environment.
 Step 5
 Step 5
Allow your fabric 'sandwich' to dry in the sun. In the picture above you can see how the flower and the leaves have wilted on to the fabric. The grasses have already been removed but you can compare the impression left by the grasses with their placement in the
 Step 6
Remove your objects and prepare to be amazed.

Step 7
Heat set the fabric following the manufacturer's instructions. If you are using plant material you will want to wash your fabric after you heat set it. You want to make sure that any pollen or potential allergens are washed away before you create with your new fabric.
Update. Sunpainted items are available in my shop. http://waggonswest.etsy.com
Wow, I love this! I would like to do this. When doing this with children can you use water base paint? You said to dilute 3,4 to one. The same with water soluable paint? Would my grandchildren love it, and the natural material is so great! If it's water soluble would it wash out if it was washed? Sorry for all the questions. I'm really interested. Thank you, Thank you. So simple with amazing results!
ReplyDeleteJudy, It works well with children. I have a few more posts on paint, techniques and tactics. It will probably work with washable paint, but the paint will wash out. So if you want a temporary project or something that won't be washed that should be worth a try. However, if you want something they can wear, you may use dilute acrylic paint or dilute SOFT fabric paint. Just remember it will stain. I'll try to get the other posts up in the near future.
ReplyDeleteIt was a silly question now that I think about it. I am going to follow your directions. I will p.u. paint at Michaels. Thank you for this great project. It reminds me of finger painting days gone by. Your quilt is wonderful and the lines so straight. Great job!
ReplyDeleteHope you have fun with it. Just to clarify, I didn't make the quilt. It is a charity quilt made from sunpaint fabric. I'll post about that some time soon.
ReplyDelete