Now I know the secret. Spoonflower will never be the same again.
Monday, October 26, 2015
Saturday, September 19, 2015
The #TravelingChicken Story


Spud 3, is the arbiter of all things aesthetic. (Yes, he has that good of an eye.) He thought the little chickens were OK but he really wanted a BIG one. Made of cammo. So WW dug into the stash and pulled out some fleece, enlarged the pattern and made a big chicken. More and more chickens were made and donated and gifted and thrown at a brother or two. Many ended up roosting in a certain room.

It wasn't until Spud 1 was cherry picking the WaggonsWest stash for his table in the dealer room at Archon that the chickens hit the big time. He and the Kineticraft crew decided to throw in some chickens for giggles and grins. Let's just say that they were a bit of hit and the saga of the traveling chickens began.

It seems our unruly little chickens become the model traveling companion once separated from the flock. They are friendly, tiny and pack well. They travel light and offer just the right amount of listening power to support any weary traveler. And they are photogenic. They have been seen at breweries, chocolate shops, JFK, Nepal and elsewhere. Rumor has it that one went to Guyana but the pictures never made it out. Perhaps some day we will hear that story. You can check out #travelingchicken for yourself and once you have one of these fine feathered friends you can add your own photos to the mix!

Traveling chickens are made out of quilting scraps, remnants and some upcycled clothing. Because of that each one has its own personality. We will have many to choose from at the Strange Folk Festival. Be sure to check for the BBQ chickens, because as always, we make what amuses us! Look for us in #falconforest on the second floor.
#strangefolkfestival #chicken #birdsofafeather
Friday, July 31, 2015
Georgia's Cabin

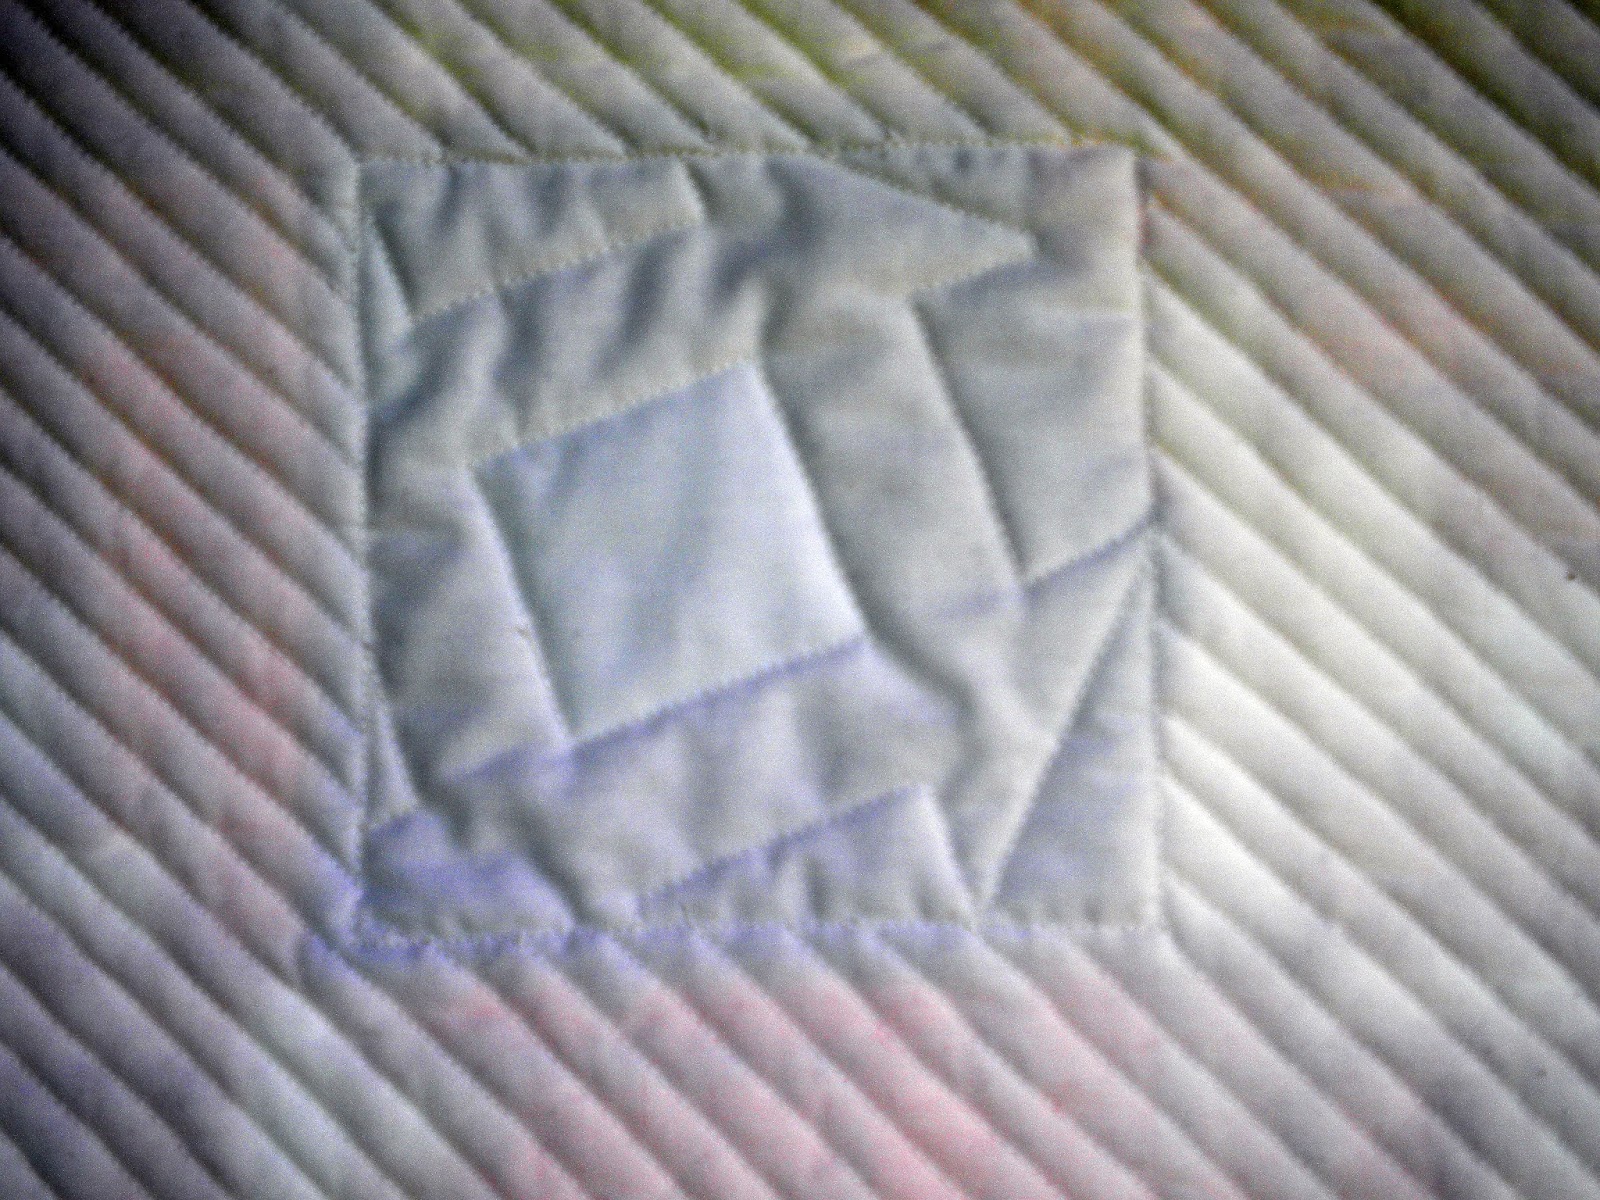
It is a quilt.
It has three layers.
It is held together with stitching.

It is 20 inches on each side.
It is a log cabin.

It is simple. I don't particularly like it. But a finished quilt is always better than a pile of fabric on the shelf.

This is my entry in the #focusthroughtheprism off-season challenge for Project Quilting. I could write more but I am tired from a lovely day at the beach and a mad spate of stitching. Be sure to check out all the really amazing entries at Project Quilting! Believe me. They are more than a quilt with three layers stitched together and finished so that the maker could frolic in the waves.
Oh, and it is called Georgia's Cabin. I will leave you to puzzle out that reference!
Saturday, June 20, 2015
PQ 6.6 D9 Finally Finished


I was slow finishing this one. But it is finally done. It is a disappearing nine patch, thus the completely uninspired name.

In addition to the one charm pack, I added in 5 inch squares of linen to give it a bit of texture.

The backing is flannel.

It is tied with embroidery floss and measures approximately 24 x 36 inches. Perfect size for a stroller or to cover a car seat.

Photographed it on my nephew's truck. So you get lots of pictures and little description.
Project Quilting is the brainchild of Kim Lapacek and her evil genius mother-in-law Diane who dreams up the weekly
Friday, May 29, 2015
Hayduke's Cabin (PQ FTTP: Challenge Monkey Wrench)

There is an off season challenge for Project Quilting. PQ, as you may recall is the brainchild of Kim Lapacek and her evil genius Mother-in-Law Diane. Fortunately, the off-season challenges go for an entire month instead of just one week! This year the dynamic duo has teamed up with Cherrywood Fabrics to drive us all over the quilty edge! Their plan: create a batch of rainbow colored hand dyed fabrics and have us choose only one each month. Then we have to be inspired by the block design they choose. The final quilt must read as one color. It must be precisely 20 inches on each side. It must have a hanging sleeve. And it all has to be done in one month.

When I heard the block for this month was Monkey Wrench, I immediately thought of the slick rock of Canyon Lands. I had the great fortune the camp and hike there in my youth. It was the perfect time and place for reading Edward Abbey. In particular, it was the perfect time for reading "The Monkey Wrench Gang". It tells the stories of a band of eco warriors (before there was such a thing) led by George Hayduke. Hayduke is a beer drinking, Jeep driving, wilderness surviving sabateur with grand plans to blow up the Hoover Dam.
Of course, my quilt this month had to be orange, although my stash was more driving into Vegas neon than sunrise on the slick rock orange. I used the log cabin blocks to represent the order imposed upon the environment by the developers Hayduke so despised. The quilting is done is straight orderly lines as well. The monkey wrench block represents the disruption caused by the Monkey Wrench gang. The blue color represents the water in the rivers that Hayduke wanted to set free.

The quilt measures 20 x 20 inches. It is made of quilter's cotton. It is machine pieced machine quilted with invisible thread (a new thing for me). The binding is machine stitched and hand secured.

Wednesday, March 25, 2015
I Got Nuthin'
Pretty much nuthin'. I finished Project Quilting with a whimper. The last project has all of the blocks made but not sewn together. I officially finished 4 of the 6 challenges. Oh well. Maybe I can work on the off-season challenges to make up for it.
Instead of doing sewing, I've been doing what I'm supposed to be doing. Looking for a missing 40 yard dumpster full of tires and adding up tons of trash. This past weekend was the seventh Annual Confluence Trash Bash and I had the pleasure of heading up the team that organized it. AND I get to do it all over again in a couple weeks when we roll out the 12th Annual Mission: Clean Stream/GM Earth Day. Yep. Hundreds more volunteers and tons more trash.
In the meantime, I am making my costume for the Seventies Disco Murder Mystery party I'm attending this weekend. Sewing on modern shiny knit, which is a huge improvement over the Quiana of the past, is a graphic and tactile reminder of why people gave up sewing in the seventies! If the fabric didn't blind you, sewing the fabric would send you screaming into the dark!
Sunday, February 22, 2015
PQ: 6.4 Unchained Heart (The clock is ticking)
Whew! That was close. Two minutes to spare on this week's challenge. I'll be fixing this post as soon as I catch my breath.... (OK, a few details finally added!)

Well, that was a challenge! I know, it is supposed to be a challenge, but I don't think I've ever cut it as close as this one.

I decided on Sunday what I wanted to make. I made this quilt several years ago. My mom asked to have it so, of course I gave it to her. She then turned around and gave it to my niece for her wedding present. Apparently they've had a thing about hearts forever and ever. Sneaky mom! I always loved that quilt and wanted to do something to replace it. So for this challenge I was bound and determined to make a quilt that used similar elements. Tick. Tock.

But I dithered around forever and ever on it. Tick. Tock. Tick. Tock. My first plan was to do a quilt as you go piece. It would have the hearts in the middle and each block would be surrounded by the red blocks. It was all good until I started thinking about the edges. I was going to have to do something funky with the number of blocks. Probably not an issue but it hurt my head. Tick. Tock. Tuesday.


Strip sets cut, blocks made. More challenges with the rotary cutter. Who knew it would be so hard to cut 60 - 6.5 inch blocks of plain white fabric. Give up and start again on Friday. OK. It wasn't really that simple. I gave up after I realized that I just cut through one of my finished blocks and had a major panic about whether or not I would have enough blocks to make the quilt AND after another futile search for plan B. Finished piecing on Friday night. (Ticktockticktockticktock)

Tock. Tick. Tick. Tock. Where ever did Saturday go? Mostly done but OH My it is 2:39 am! Ticktockticktockticktock...
 Brrrrrrrring! 10 am!?!! Tick. Tick. Tick. Two hours to finish. Tock. Tick. Tock. Tick.
11:26 am. TOCK. Where is the camera? What? No charger? Just enough battery for a couple pictures. TICK. EEP. Too windy. Quilt moved. TOCK. WHAT???? TICK. Processing? TOCK. Who set the camera on raw format? TICK. TICK. Where is the phone? TOCK. Email. Refresh. TICK. REFRESH!!!! TOCK. Upload. TICK TICK TICK. Posted! TOCK. LINK. Done. 11:58. Breathe.
The details: This quilt measures 60 by 72 inches, machine pieced of quilter's cotton, It as a polyester blend batting and is machine quilted with walking foot and embroidery unit. There are precisely 12 hearts! Not saying there won't be more in the future, but I kind of like the band of hearts across the top! The binding is machine sewn.
This quilt is my entry for the Project Quilting Season 6, challenge Have Heart. Project quilting is the brain child of Kim Lapacek who blogs at Persimon Dreams. The challenges come from the strange brain of her mother-in-law Diane. You can view all of the quilts on here and follow along on the Challenge Quilts Facebook Page.
Well, that was a challenge! I know, it is supposed to be a challenge, but I don't think I've ever cut it as close as this one.
I decided on Sunday what I wanted to make. I made this quilt several years ago. My mom asked to have it so, of course I gave it to her. She then turned around and gave it to my niece for her wedding present. Apparently they've had a thing about hearts forever and ever. Sneaky mom! I always loved that quilt and wanted to do something to replace it. So for this challenge I was bound and determined to make a quilt that used similar elements. Tick. Tock.
But I dithered around forever and ever on it. Tick. Tock. Tick. Tock. My first plan was to do a quilt as you go piece. It would have the hearts in the middle and each block would be surrounded by the red blocks. It was all good until I started thinking about the edges. I was going to have to do something funky with the number of blocks. Probably not an issue but it hurt my head. Tick. Tock. Tuesday.
So I thought about the quilt I made for the spuds' teacher when she retired. I like the Irish Chain pattern. It i one of my favorites. I figured it would work for the project. But then I had to decide how best to do it. I did not want to cut individual blocks. I thought about it and finally came up with a plan. But then it was Wednesday (Tick, Tock, Tickety, Tock) and the quilt was going to be too big to finish in the remaining time. So I pondered for a bit longer about plan B. There was no plan B. Tick. Tick. Tick. Tick.
Late Wednesday night I pulled all of my red fabrics, selected 20 and cut strips. About the time I cut the last wee bit of red with white hearts wonky, I gave up and went to bed. There was no point in messing up anything else. Tick. Tock. Ticktockticktockzzzzzzzz........
Thursday I started in with the white fabric. All 20 strips were cut. Then I cut each WOF strip in half. In order to make sure my nine patches would come out right, I figured that I would sew three pairs (red to white) and then add the third to each before moving on. Two would get another red. One would get another white. Worked! I ended up with exactly the right number of strip sets. Well, except for the wonky heart strip which only made on set and I had to pull one more fabric and cut one more strip.
The next question that deserved a long session of pondering was how to iron the seam so it would all work out. (Tickety. Tockety Tick.) Of course, any experienced quilter would immediately know that you press them all to the red and it will be fine. Took me a while to get that worked out. But they were ironed and ready to cut.
If you don't have this June Tailor shape cutter ruler, you need one. It is the best. You line up your strip set and then cut several at one time. No moving the ruler. It is big enough that it doesn't shift. It is great for squaring up HST and QST blocks as well.
Strip sets cut, blocks made. More challenges with the rotary cutter. Who knew it would be so hard to cut 60 - 6.5 inch blocks of plain white fabric. Give up and start again on Friday. OK. It wasn't really that simple. I gave up after I realized that I just cut through one of my finished blocks and had a major panic about whether or not I would have enough blocks to make the quilt AND after another futile search for plan B. Finished piecing on Friday night. (Ticktockticktockticktock)
Tock. Tick. Tick. Tock. Where ever did Saturday go? Mostly done but OH My it is 2:39 am! Ticktockticktockticktock...
11:26 am. TOCK. Where is the camera? What? No charger? Just enough battery for a couple pictures. TICK. EEP. Too windy. Quilt moved. TOCK. WHAT???? TICK. Processing? TOCK. Who set the camera on raw format? TICK. TICK. Where is the phone? TOCK. Email. Refresh. TICK. REFRESH!!!! TOCK. Upload. TICK TICK TICK. Posted! TOCK. LINK. Done. 11:58. Breathe.
The details: This quilt measures 60 by 72 inches, machine pieced of quilter's cotton, It as a polyester blend batting and is machine quilted with walking foot and embroidery unit. There are precisely 12 hearts! Not saying there won't be more in the future, but I kind of like the band of hearts across the top! The binding is machine sewn.
This quilt is my entry for the Project Quilting Season 6, challenge Have Heart. Project quilting is the brain child of Kim Lapacek who blogs at Persimon Dreams. The challenges come from the strange brain of her mother-in-law Diane. You can view all of the quilts on here and follow along on the Challenge Quilts Facebook Page.
Saturday, February 7, 2015
I Do Not Like This Sam I Am. I Do Not Like This Pillow Sham.

I do not like this Sam I am
I do not like this pillow sham
I made it from a scrap of stash
I made it in a great big dash
I did not applique it with a fox
I think I'll put it in a box
I think I'll put it on the floor
I'll do better with challenge four.
I did not like this week's Project Quilting Challenge. It was Orphan blocks and WIPs. I have long maintained that WIPs are WIPs for a reason. Mine are that way, not because I don't like them or I am bored with them. They are WIPs because I have a vision but I don't have the knowledge or skill to complete that vision. And I am unwilling to compromise that vision. So I set it aside and mull it over for however long it takes until the quilt speaks. Or until my skills are up to the challenge.

So I wondered through my stash of WIPs and my very few orphan blocks. And I rejected them all. I knew I couldn't complete the wonky house quilt and did not want to break out the tree blocks for something else. I'm still not sure how to finish the ruffled quilt. I don't feel like squaring up the rest of the halloween blocks. My quilt club blocks are samples of a wide variety of techniques and I want to be able to refer to them. And on and and on
So I started through my scrap bag. I vaguely recalled that there were some orphans in there. I didn't find any orphans but I did find this strip set. It was from an unfinished project. On that I did not start with a vision but with a vague goal of making money... that is a long story for another day. Needless to say you can quilt for love but not for money. The strip set was free for me to mess with.

Thus is born the completely unnecessary pillow sham. It has an envelope back from the red fabric in the picture. It is some what loosey goosey in the picture because I don't have a pillow form that fits it.
I am sure I will love it on the porch for the 4th of July but for now... I do not like this! Oh well. It is a finished quilted project.
Project Quilting is the brain child of Kim Lapacek of Persimon Dreams. The weekly challenges come from the evil genius of her mother-in-law Diane. You can see all of the projects HERE. If you vote for mine, it will be a mercy vote and completely undeserved. But you should go visit and see all of the amazing quilty goodness that have appeared over the course of the week.
Sunday, January 25, 2015
PQ 6.2 Land of the Midnight Sun

Voting for Round 2 quilts is now open. Scroll down the post to the pictures. Click on the gray heart in the upper right hand corner of the picture to register your vote. Mine is number 56.
I was fortunate enough this past summer to travel to Alaska with several members of my family. It was a wonderful trip full of fishing and taking in all the sights. I had been warned that it would be difficult to sleep with the near round the clock sunshine. In fact, I found I adapted to it quite nicely. I was very happy to have that much sunshine. And I appreciated having only near dusk dusk darkness on the middle of the night walk to the restrooms at the fishing camp! I am quite certain that I would not do equally well in the darkness they have at this time of the year.

Our primary goal was fishing. However, I did my research and identified the ONE quilt shop in Anchorage that I did not want to miss. We worked out a plan and I ended up in Alaskan quilt shop heaven. There was everything there from Russian influenced applique to Alaskan themed novelty prints to Alaskan batiks. Oh my... the Alaskan batiks. Oh mine... the Alaskan batiks. I was restrained. I knew how much room I had in my suitcase and how many pairs of socks and underwear I could reasonably abandon in order to stuff a bit more in. I did pick up a bit of fabric for the pattern Delectable Dog Sled by Lisa Moore.

When I read that Project Quilting Challenge was sunrise sunset, I immediately thought of my trip to the Land of the Midnight Sun and decided to put together my Alaskan Souvenir. I pulled out my dog sled batik and the matching swirling stars and started to look at the pattern. There was one problem with that picture. I neglected to even consider, let alone purchase any background fabric. The pattern has a beautiful swirling stars in complimentary colors. What was I going to do? A quick panicked look at the quilt shop website showed that they had the fabric in stock. But seriously, there was no way it would arrive in time for me to finish the quilt in time to meet the challenge deadline
I went to my stash and started looking. Front and center in the batik tray was this strange gray and black and orange and gold piece of fabric. It is completely not my style or color choice. I don't know where I bought it or for what project it was intended. It was however the perfect complement to the colors in my Alaskan prize fabric. More importantly, there was enough of it to complete the background and the binding. What are the odds?
The funny thing is that while I knew the colors matched, I just wasn't sure it would work. But given the deadline and my determination to use stash material I went ahead and got started. This is probably the only quilt I've ever worked on where every time I put two pieces of fabric side by side I marveled at how well they went together.


This quilt measures 19 x 50 inches. It is the pattern Delectable Dog Sled by Lisa Moore. The fabric is batik from Alaska and parts unknown. The batting is cotton and the backing is black quilter's cotton. It was machine pieced and quilted on my domestic sewing machine. The binding was finished by hand.
View all of the lovely quilts submitted for Project Quilting season 6 Challenge at Persimon Dreams. You can also follow the quilter's project each week on the Challenge Quilts Facebook page. Project Quilting is the brain child of Kim Lapacek. The challenges come from the evil genius of her mother-in-law Dianne.
A couple of side notes about this quilt.
1. After many years of telling my quilty friends they could part from the pattern and free themselves from the chosen fabrics I followed a pattern using the fabrics in the picture. Well mostly.
2. I departed from the pattern a bit. Mine doesn't look entirely like the picture. That is my fault and not the pattern's.
3. I think this is technically the best quilt I've done. That leaves a lot of room for improvement but I am very happy with my progress on stitching even seams and on making consistent and straight cuts.
4. I love my June Taylor shape cut ruler.
That is all. Now go view the quilts and vote for yours truly if you are so inclined.
Monday, January 19, 2015

Tuesday, January 13, 2015
Ranking the Most Common Initials in the United States
ABC
One of the common problems for people who do craft shows is figuring out what to sell. This gets to be really complicated when you create items with names or monograms. One way around it is to do single letter monograms. With 26 letters in the alphabet, it can be expensive to prepare items in all 26 letters and in all colors and styles. I ran into this problem with the embroidered toilet paper I was making before the holidays.
I decided to do a bit of research and see if I could come up with a rough ranking for the most common single letter initials I figured that some people will buy their first initial and others will purchase their last initial. So a combination of both initials seemed in order. I found lists of the most common last name in the US today as well as lists of the most common first names, male and female, over the last 100 years. I did a quick count of the number of names in each category that started with each letter.
Last Name Male First Name Female First Name
R J J
M R M
W, B, C A A, D
S, P B C, S
G, H S, D K, L
T P B
J, L C, E,G, H E, R, T
A, F K, T, W H
D, K, E, N N G, N, P, V
Y, O Z, V, F F, O
I didn't include numbers because, honestly, I didn't spend the time cross checking to make sure they added up properly. Remember, this is just a quick attempt to score monograms for likely popularity. Out of 100 names in each category the top letter represents 11 - 18 percent. The second row is 10 - 11 percent. The bottom numbers represent one percent.
The letters I, Q, U and X do not appear on any of these lists.
In order to get a better picture of which letters are relatively more common, I made up a ranking system. I weighted each letter each column in the order they occur top to bottom. I used 10 for the top row and 1 for last row. I did that simply because there are 10 rows of letters. This isn't entirely fair because the R in last names represents 11 percent of last name initials while the J in male names is 18 percent. I could go back and to a percent ranking but that would take another sheet of paper in my notebook or I'd have to go all modern and set up a spread sheet. So, I made it up. We are talking relative numbers here and no one is going to bet the farm on using these as more than kinda sorta guidelines.. right?
I then added up the rank score for each letter. For example:
R = 10 + 9 + 4 = 23
10 for being in the first row of last name initials
9 for being in the second row of male names
4 for being in the sixth row of female names
= a ranked score of 23.
Thus the top letters for monogrammed items should* be:
J
R
B, S
A, C
M
D
P
H
G, T
K, W
E, L
N
F
V
O
Y, Z
With no requests for I, Q, U, X
*Should assumes that people purchase lettered items in direct proportion to their occurrence in the list of first and last male and female names. However, one might imagine that Tiffany in row 7 of the female names might be more likely to purchase a letter key chain than Joe in row 1 of the male names or vice versa. I have no way to account for those variables.
If your audience is primarily female you might choose to use the order for female first initials or use the following ranking which combines last names with female first initials.
M
C,
J, R, S
B
A
D, L
H, P, T
G, K
E
N
F
V
O
and no I, Q, U, W, X, Y, or Z
That does shift things around quite a bit. Remember, the data I started with were the common names for last 100 years. That means it includes popular names from ALL generations. If you have a young customer base, these initials are going to be weighted with names like Mary and Ruth that are not as common today. You will have to look at lists of common baby names from the correct era to get a closer approximation of the letters that are in the realm of likely to sell. Other factors that will certainly have an impact on the letters your customers buy will be regional and ethnic differences. A look at local
Perhaps this will help in determining how to spend your time when making single initial items. Perhaps not Prepping for a craft show is something of crap shoot. So take this 'research' for what it is worth and certainly don't bet the farm. Just because I think these might be common letters does NOT in any way shape or form mean that these are the monograms that will sell.
A Thumb on the Scale

Some one, probably my grandmother told me to always watch the butcher. A dishonest one will put his thumb on the scale when he weighs out the best cuts.
Likewise I was told to pay attention when getting fabric cut. A crooked cut can mean that you get less than you paid for and don't have enough fabric for your project.
As some one who tries to be a savvy shopper, I pay attention. I greatly appreciate the old school shops that measure past the mark. They understand the fabric isn't square and the cutting isn't always straight. Having the leeway is always a good thing.
I have noticed, however, that a large chain with a certain name has started cutting on the mark. If I order 18 inches, they cut on the 18 inch line. If they can tell the previous cut is crooked, they trim it up, throw the scrap away (hello!?!) and then cut precisely 18 inches. HOWEVER... they don't cut precisely. They can vary by as much as an inch. Yes, the lovely ladies at my local version of this very large ubiquitous shop known first an foremost for its fabrics are better than they used to be. But they 'ain't' laser cutters!
When I order 18 inches of fabric, I want to get home and have 18 full inches of useable fabric. I'm not even worrying about after squaring the grain or heaven forbid after shrinkage. I am talking about having a full 18 inches of fabric from selvage to selvage. Not 17 and 7/8. Not 17. Not 16.9. 18! Eighteen inches of fabric.
More and more often, I get home and find that after I trim up the crooked cuts, I have less than the amount I ordered and paid for. The smaller the cut, the worse it gets. I don't appreciate that. I don't want to have to order 5/8 of a yard to get a full half yard. I'm not building a stash anymore. I don't need the scraps.
I don't want to even try to ask for 19 inches of fabric so that I get my half yard. I don't want to have to do the math to make sure the price is right on 19 inches of fabric. I want to walk out of the store with 18 inches of useable fabric.
Yes, I can and do go to the Local Quilt Shops. I am fortunate enough to have several within easy distance and am also fortunate enough to be able to afford a bit of fabric that I love from them. One lovely lady precision rips the fabric. I know that I am getting a straight of grain accurate cut. Most of them cut an extra half inch or so. Again, I know I am getting a fully useful piece. Unfortunately, they aren't always open when I need a wee bit. And sometimes I don't have the resources to pay their prices. So I go to the local large franchise store with the lady's name and buy a bit or two.
But I am seriously re-thinking that strategy. I have too many pieces that were cut too poorly for me to use them in the intended project. I am getting very tired of trimming 1/8 of an inch off one side only to realize that there is a divot in the other side that means I've got to cut off another eigth on that side. And now I have a bit that 17 and 3/4 of an inch. I need, I paid for 18 inches.
Yes I am a bit crabby about it. I only have so much I can reasonably spend on fabric. Like everyone else, I need to get the most out of my fabric dollars. I don't like being the customer who remeasures every cut before I accept it. I don't like being the customer who refuses a cut piece because it is an inch short. I don't like holding up the line because I simply want what I am paying for. No more and no less. I don't blame the lovely ladies at the cut counter. I've known some of them for years. I blame the corporate policy that ignores the realities of human beings interacting with flexible, slippy, slidey, fabric.
The bean counters or managers who instituted this policy of "precision" cutting might want to rethink it. Is it better to sell me 18 and 1/4 inches of fabric for the price of 18? Or is it better to sell me no fabric at any price? Because if this keeps up, that is what they are going to sell me. Precisely nothing.
Sunday, January 11, 2015
PQ 6.1: Trees No Purple Trees in this Forest

This is the first week of Project Quilting Season 6. This is the third full year I've been doing my best to keep up with Kim Lapacek's brain child challenge. You can keep up with all of the Project Quilting challenges and quilts here.
The challenge for this week was trees. I have done some variations on trees in the past so I wanted to try something new. I love Birch trees. Growing up there was a cluster outside my bedroom window. They were beautiful. There are about a million variations of Birch tree quilts on the internet. This pattern by Crazy Mama Quilts was appealing because of its simplicity. I could easily see this done in black and white on backgrounds of greens. I changed things up a bit by making the blocks much larger more rectangular to emphasize the heights of the trees. I also used printed fabrics to provide texture.

So far, so good. Except that this has been a strange week and I haven't been able to get much done. I finished 12 blocks by Saturday evening. This is a decent size quilt. It would make a good lap quilt or a large wall hanging. I really wanted to have 20 blocks and make it a bed quilt. I'm still debating on the size.
It became clear that there was no way I was going to finish the quilt the way I wanted to in time for the Noon Sunday deadline. Now here is where the story takes a twist...
You've probably read about the spuds before. All three of them have a fantastic eye and some pretty amazing skills when they want to admit it. I always ask for their opinions about projects. And if they don't give me the 'meh, I'm busy' look, they have some pretty good input. But then sometimes I wonder if they are just messing with me. Clearly Spud 1's suggestion that I use gummy bear fabric for the backing was an attempt to push the limits. However, before he got to that one, he suggested that the quilt needed one block of purple trees. He even went to the stash and found the purple. I made the block. It seemed reasonable.
While I was still hopeful of finishing the larger quilt, I asked Spud 3 to come and work his block arranging magic. (I set things up they way I think they should be and then he comes along and tweaks here and there. It always amazes me to see what a difference he can make in the overall flow and feel of the quilt by changing a couple blocks here and there. His perspective is unique.) I had all 12 green blocks and the one purple. Spud 3 rejected the purple out of hand, much to the disgust of Spud 1.
So, the blocks are arranged and it is even more clear to me that I love this quilt and there is no way I am going to be able to finish it to the standard it deserves in the time allotted. Looking around for a mini quilt idea that I finish in a couple hours I spy the orphan purple block. A couple more trees, backing, quilting and binding and I have a complete quilt to submit!

The trees are pieced from scraps of black and white quilter's cotton. I Love the eyes peeking out from this scrap from a Halloween quilt! The binding is left over from a PQ season 3 challenge.

It is machine quilted. My machine was being derpy and my FMQ skills are rusty. This was a good practice piece and I am very happy I didn't try to force finish the big quilt under these conditions! The quilt has fast finish triangles for hanging. The batting is a generic synthetic and the backing in cotton muslin. The overall dimensions are 25 x 17.5 inches.

Be sure to check out Project Quilting on Flickr and you can also follow along with Challenge Quilts on Facebook. Voting for the viewer's choice award starts soon so I will post a link for that.
Wednesday, January 7, 2015
Chopping Party

Each year we have a large party on the Saturday after New Year. It was pretty tight this year. One of the things we do in preparation is have our annual chopping party. It takes place the night before. We chop all the veggies and fruits and prep any last dishes that require them. It is pretty crazy. Here is Spud 1 showing proper form as he slices the jicama.
Thursday, January 1, 2015

Subscribe to:
Posts (Atom)