I was cruising the intertubes looking for inspiration and found this recipe at The Girl Who Ate Everything. It is a great blog with lots of cool recipes. I needed an appetizer or dessert in short order so I decided to try out the Pecan Pie Muffins. I ended up making some significant changes in the recipe.
Preheat oven to 350 degrees F. Put paper liners in muffin trays.
Mix together:
1/2 cup flour
2 cups chopped pecans
Set aside.
Combine in mixer bowl:
1 Cup packed brown Sugar
2/3 c butter softened.
Mix together until sugar it is completely blended and a bit fluffy. (Just like creaming butter and sugar for cookies.)
Mix in:
2 Eggs
1 tsp vanilla
dash salt
Gently stir in the flour and pecan mixture just until blended. Scoop into paper liners in mini muffin tins. Do NOT over fill. My batch made 36 mini muffins. Bake at 350 for12 -14 minutes. Check at 12 minutes. Cool on a rack.
*** The original recipe warns you that you need to grease the muffin tins so that these don't stick. That is why I used the paper cup liners. When I dropped them out of the pans, the muffin cups were soaked in grease. Really soaked in grease. I ended up peeling off the papers before I plated them to serve. The muffins themselves were not that greasy. I would do it that way again. I may play with the amount of butter a second time but these were really yummy. They taste just like pecan pie without all of the hassle.
*** The original recipe tells you to mix the butter and eggs together. The butter has to be almost molten for this to work in any reasonable way. Perhaps little lumps of butter are needed to enhance the pie like effect of these muffins, but I changed to procedure to cream the butter and sugar together.
*** I added vanilla and a wee bit of salt to the original ingredients. I felt they were necessary to enhance the flavor of the pecans.
*** Next time I will lightly press some chopped pecans to the top of the muffins before baking or consider toasting the pecans before mixing them in. These are tasty muffins (not a one left to take a picture) but they don't have the toasted nut flavor you get from the browned nuts on the top of a pecan pie.
Leave a comment if you try these and tell me how they worked for you.
Wednesday, December 17, 2014
Tuesday, November 11, 2014
Little Quilt Sew Vote Swap

Wow. I can't believe it has been so long since I last posted anything here. I've been working and working on projects for the Fall show season. I only had a couple shows but I was making away. Now I have to stock the etsy shop with the surplus.
This is my only quilt finish in the last little while. It is my entry in the Flickr group Little Quilt Sew Vote Swap. I have so much fun making quilts for that. But then you have to keep it entirely a secret until voting is finished. Not even a wee sneak peek. So I've been waiting to get this one posted.
It is a stand alone Dresden plate. The backing in felt. It is machine pieced and then hand stitched on to the backing. It looked so much like a Fall wreath, I just had to add the bow! It is just shy of 14 inches across.
This was addicting to make. I'm guessing there will be more in the future!
Sunday, October 5, 2014
He is Soft and Squishy and Must Go Home with Me

Exactly what you want to hear about the yeti's in your booth.
Tuesday, September 30, 2014
Dozens
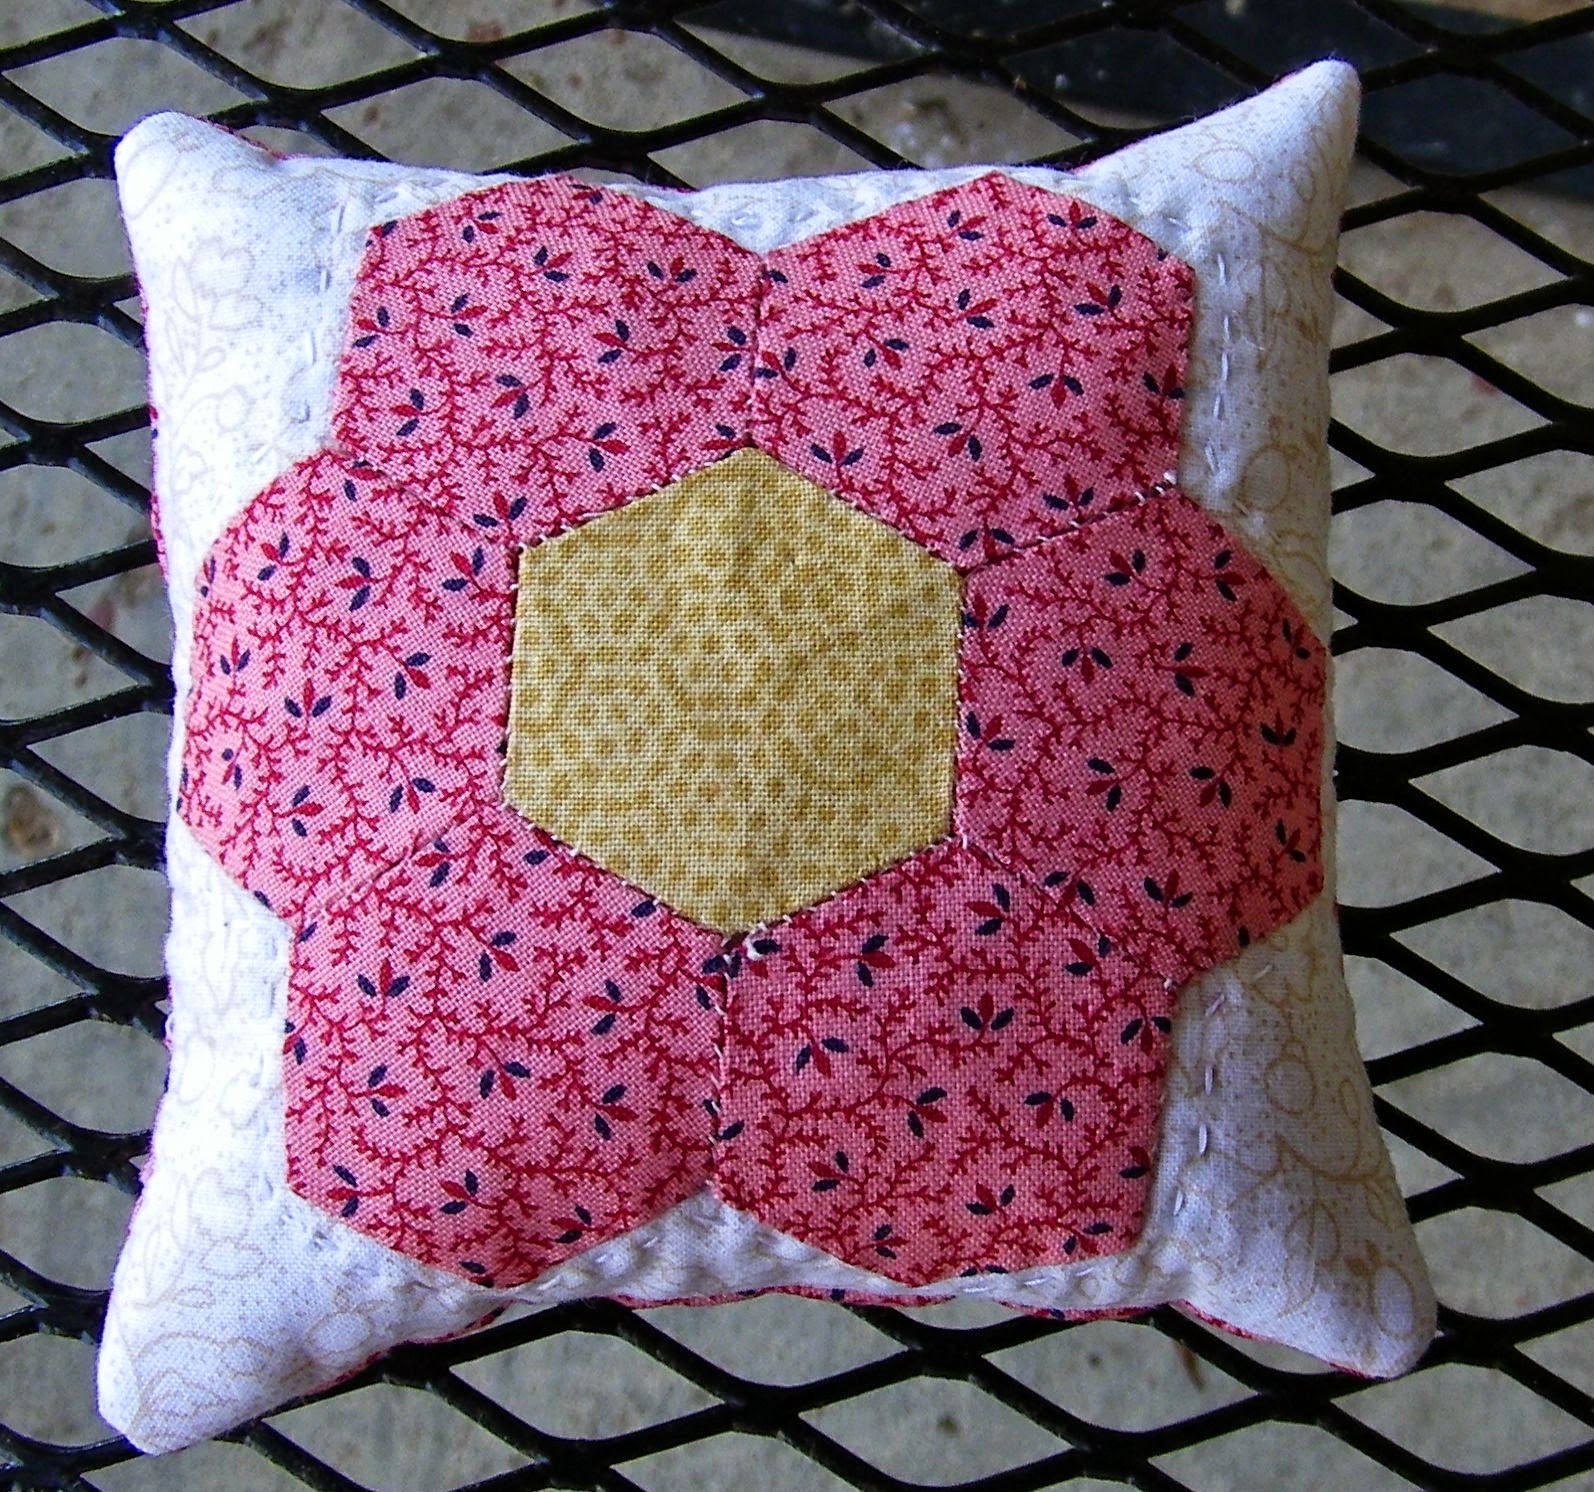
Today I was sick of staring at the machines and mess. When I saw a post that our LQS was having a hexie demo in an hour I jumped. I called up my quilty friend Bev and said I'd be by to pick her up in 45 minutes. A quick shower, a wild hunt for a clean shirt, a wee bit of ironing and I was there.
I expected a 10 minute talk. What we encountered was a lesson complete with $5 kit. There turned out to be 5 of us total with one fantastic teacher. She taught us English Paper Piecing. Clearly Bev and I were more used to hand work than the others because we both finished basting, stitching and appliqueing before the time was up.
Half-way through I realized I was making a mini quilt AND that it was still September. That meant I actually had a project for the Project Quilting September Off-season challenge! All I had to do was dash home stitch on the back, fill it with the (provided, can you believe it) bag of walnut shells and I was done! Woo Hoo.
Best of all I think that I could do a hexie project. To all my #talknt friends, yes, I've gone to the dark side. I resisted for a long time but they got me in the end. I did manage to resist buying the papers but I'm not sure it is going to last long. I could be sitting here using up scraps instead of typing...
Wednesday, September 3, 2014
Lace Earrings

The first of many cool designs. Starting to list them in the shop.
(This design by Sonia Showalter.)
Friday, August 29, 2014
Prototype


I took one of those grain bags from Golden City Brewery and pieced together a prototype messenger bag.

I have to do some more figuring on the dimensions to get it to come out evenly. It is a bit short and probably too wide for a real messenger bag. It is lined with quilter's cotton in plain white.

I like the rounded front flap. All in all not too bad for a first attempt.
Lessons learned from working with this woven plastic.
1. You have to finish every raw edge as soon as you cut it. If you don't you end up with shreds instead of fabric.
2. It doesn't move through the machine as smoothly on a straight stitch as it does with zig zag. Go figure.
3. It sews much more smoothly than I anticipated. I had much less trouble with the thicknesses in this bag than I have with other bags I've made.
Now on to figure out the growler bag.
Wednesday, August 27, 2014
Hello.... Is this thing on?

It seems like forever since I've been here. I can't believe my last post was as recent as August 12. It feels like it has been at least 2 months instead of a couple weeks. As usual, I spent the dog days of August getting read for the Race for the Rivers. It was a good event but TOO hot. The heat index was 114 degrees (F)!!!! That was crazy. It was a good event for the folks who were there but, understandably, few others came out to check things out.
I spent the rest of my time making. I made soap. I made candles. I made backpacks. I made lanyards and key chains. I upcycled napkins. I pieced some quilt tops. I made market bags. I made pennants. I made prayer flags and DIY prayer flag kits. I made earrings. I made a crazy amount of stuff. I was a one person craft mall without the fake flowers!
I did a lot of work figuring out my booth and display items. I came up with some fun things I will share when I catch my breath.
Today I received an upcyler's dream: Grain bags from a microbrewery! How cool is that? I'll be making more bags. Anybody know the dimensions of a growler?
Tuesday, August 12, 2014
Patches are IN for Fall Fashion!
Just saw THIS over on Craft Gossip. It seems patches are IN this Fall.
How cool is that? But then around here, we've been making patches for years!

Here is part of set made for a customer who uses them to customize things for her customer. She always comes up with interesting project for me

Having a party? This must have been one fun birthday party!

A fish from the party pack.

A smile? A red banana? No. The Easter Island Flag, one of my first custom orders. Made for some one who collects flag patches as she travels the world. There weren't any available for Easter Island and other places were going to charge an arm and a leg.

More custom work. See the teeny tiny heart on the book? I learned a lot about digitizing getting that on there!

Making a statement.

Adventure set.

For the comic crowd.

SCIENCE!

Never drew bike before. Then I had to digitize it. Fun.

Ya mon.

Flags anyone?

Love those Urban Threads designs.

An original design made as part of a larger badge for a drum circle. Best reason to make custom badges is it lets me explore new ideas and images!

Playing with variegated thread is fun. A very traditional patch.

Another Urban Threads design. This one, in this size is an edition limited to 5. Too many threads for the space.

Some times, I make badges for groups and troops. This one was for a boys club. They wanted hiking. I just had to make the iconic hiking boot foot print. These little barbie boots are soooo cute.

Obscure. Yes, I like to make obscure things. For the if you know, you know crowd. This one is gaming based.

And then there are the challenges. Sometime in languages other than my own. How small can you go??? But always fun. Makes me want to know where they end up.
How cool is that? But then around here, we've been making patches for years!
Here is part of set made for a customer who uses them to customize things for her customer. She always comes up with interesting project for me
Having a party? This must have been one fun birthday party!
A fish from the party pack.
A smile? A red banana? No. The Easter Island Flag, one of my first custom orders. Made for some one who collects flag patches as she travels the world. There weren't any available for Easter Island and other places were going to charge an arm and a leg.
More custom work. See the teeny tiny heart on the book? I learned a lot about digitizing getting that on there!
Making a statement.
Adventure set.
For the comic crowd.
SCIENCE!
Never drew bike before. Then I had to digitize it. Fun.
Ya mon.
Flags anyone?
Love those Urban Threads designs.
An original design made as part of a larger badge for a drum circle. Best reason to make custom badges is it lets me explore new ideas and images!
Playing with variegated thread is fun. A very traditional patch.
Another Urban Threads design. This one, in this size is an edition limited to 5. Too many threads for the space.
Some times, I make badges for groups and troops. This one was for a boys club. They wanted hiking. I just had to make the iconic hiking boot foot print. These little barbie boots are soooo cute.
Obscure. Yes, I like to make obscure things. For the if you know, you know crowd. This one is gaming based.
And then there are the challenges. Sometime in languages other than my own. How small can you go??? But always fun. Makes me want to know where they end up.
Monday, June 30, 2014
Project Quilting Off Season Challenge June: Panel

How is this for outside my box? I bought a kit and followed the directions exactly. Now that it NOT my usual pattern.
I bought the kit to make for Mr-I-am-from-Michigan-and-only-moved-to-Ohio-because-even-the-dog-license-was-less-expensive. I didn't put it together because I was very stressed about sewing the panel in place evenly and getting all the little patches to line up. I've been practicing. So when I remembered that I had it and that this month's challenge was to use a panel I decided to go for it.
I know. A lazy offering and it isn't even finished. But there is a reason for that. Some one else WANTS to quilt it. And I'm not going to turn that offer down. So this one is finished enough for me even though it doesn't qualify for the challenge. Be sure to head over to Persimon Dreams to check out all of the really cool FINISHED projects from this month's challenge.
Thursday, June 26, 2014
Luna-see Quilt

Well, I did it! I managed to finish the luna-see quilt. It was almost named the bad word quilt but it really is deserving of a better name than that.

The quilting turned out better than I had hoped. I did a simple cross hatch across the blocks and a couple of straight lines to frame them. (The faded spots are actually sunlight that filtered through the trees and was picked up by the camera.)

To fill in the scallops I drew a kind of-sort of lotus pattern that I figured I could repeat with a degree of consistency. Fortunately, the variations don't really matter. I am almost (but not really) sad that I did black quilting on black fabric because it doesn't really show up all that well. But then, that is why I did it. So it wouldn't show up that well.
It took me quite a while to get the hang of sewing the scallops on both by machine and then again by hand. I did quite a bit of quilt wrestling to get it finished. Actually, I would stitch about two and half scallops and then I had to walk away. It took me about two days to get it all done.
To stitch the binding you have to clip the low points almost to the seam allowance, bunch up the quilt and sew straight across. You do the same thing for the hand sewing and then it all falls neatly into cute little tucks. No need to miter anything. Well that is the theory.
By the end of the quilt I was able to stitch across pretty reliably. The same with the hand sewing. I kept wanting to pull the binding too tight. That was a double problem since I refused to make a bias binding which is REQUIRED for scalloped edges. Phoey. My curves were gentle enough to make it work out OK but it probably did require a wee bit of extra fussing.

The details: This quilt measures 40 x 44 inches. It is made of 100% cotton quilters fabric with the exception of the binding which is a cotton poly blend. The batting in cotton. It will be a lovely baby quilt or table topper. This one is destined for the shop or the shows I am doing later this Summer and Fall.
Wednesday, June 18, 2014
French Seams, Boxed Corners

The classic re-usable shopping bag is one of the easiest sewing projects around. A few french seams a folded handle and you are on your way. This particular version is sometimes called a Morse Bag. I've posted fabric cutting tips and links to the original instructions here. Admittedly the one in the picture above is a bit fancier than the typical bag but still quite easy to pull off.
The beauty of this style of bag is that the french seams used in construction mean that the bag is fully finished inside and does not have to be lined. A great savings on fabric and time.
The one problem with the Morse style bag is that the bottom is not squared off. It works quite well the way it is, but most shopping bags have a flat bottom. Boxing corners is simple. You turn the bag inside out, line up the side seam and bottom seam. Stitch across the triangle and cut off the excess fabric, which leaves raw edges inside your bag or you leave the corners on which leaves funky crud collecting flaps in the bottom. Either way, it is no longer fully finished and is begging for a lining.

I decided to modify the bag with boxed corners and see if I could do it without requiring a lining. It turns out it is pretty simple.

Once you've made your bag, turn it inside out and look at the bottom corner. In this picture, I'm holding the corner on the right side with the seams together. You can see that I have adjusted the seams so that they go in opposite directions. In quilting circles, we call this nested. It is particularly important in the construction of the boxed corner. Trying to stitch through all of those layers should the seams allowances be lined up would be almost impossible.

With the seams nested, turn the bag right side out and pull the corner to a flat point. The black arrow in the pictures is on the side seam. The bottom seam is nested perfectly below it. I've lined my ruler up on the seam. It looks slightly off-kilter but it truly does go along the seam and through the point of the bag. The ruler is placed so that the straight edges is 1.5 inches above the point.

I've moved the ruler slightly in the photo above so that you can see the line I have drawn. I used a pink washable chalk pencil so that my line shows up on both the light and dark portions of the fabric.

This is one of those occasions where I strongly suggest using a couple pins. Put them in perpendicular to the line you have drawn. Pull them out before you sew over them. Stitch a seam directly on the line you have drawn. Note the bag is positioned so that the WRONG sides are facing and the RIGHT sides are out. That is OK.

You will end up with a dog ear on the outside of the bag.

Cut it off!
I used pinking shears and left a scant 1/4 inch seam allowance. That is a quilting habit. For bag construction you can make it a deeper seam if you like. I prefer the smaller seam because it leaves less bulk in the bag.

Now you can turn your bag inside out. Put the RIGHT sides together with the WRONG side showing. Carefully poke out those corners.

Nest your seams again. Make sure you have a nice straight seam showing.

Sew a full 1/4 inch seam. To reinforce the stitching and to minimize loose threads, I start stitching in about 1/4 inch and backstitch to the edge. I then sew across the seam. When I get to the opposite side a stitch to the edge and backstitch in a quarter inch. Then I cut my threads. It just leaves the edges a bit tidier.


Feel free to cover a rectangle of plastic or better upcycled cardboard and tack it to the bottom to make a stable bottom. Or leave it as is for wad up and go convenience
The french seams give these bags plenty of stability and strength. Make them out of almost any upcycled fabric or remnant. Stretchy knits work but they will stretch so you might want to make the bag a wee bit smaller.
Monday, June 16, 2014
Math and Butterflies

Several years ago, I saw a quilt on-line that I couldn't figure out. Typically, I can separate the blocks out and have a general understanding of how it is made. This one confused me. I shared it with Mr-math-is-my-thing and told him it made my head hurt. He looked at it for approximately one-seventybillionth of a second and said "This is easy. Get me some fabric".
I happened to have 4 yards of mostly coordinating fabric I bought at a going out of business sale. (I'm not sure why I bought them. They are not my usual or even my unusual style.) Mr-give-me-a-ruler-and-a-rotary-cutter stacked them all up into one pile and started cutting. In short order we had a big pile of fabric pieces. We had to tack an old flannel sheet onto the wall to try and arrange them. It took some doing. What made sense in theory wasn't quite as simple in practice.

Eventually we got them all laid out properly. Well, not exactly properly. We actually did a few swaps to make it more interesting. But that is pretty much SOP around here. Above is the picture I took to help us keep it straight.
I eventually managed to get it all stitched together, matching most of my corners. It was a decent quilt top. It also deserved better quilting than I could manage at the time. I knew it needed more than straight lines. I hadn't yet learned about FMQ and I couldn't afford to send it off to the Longarmer. So it has languished on my WIP list for years.

Eventually, I figured out that I could quilt it using my embroidery machine. I bought a design and had the perfect thread. Of course I needed backing. at 47 inches on a side it is just a wee bit too wide for the standard yardage I bought. Of course, I didn't buy enough figuring that it would fit. So it languished on the WIP pile for another year or so.

Finally determined to finish it, I pulled out the original backing fabric and gave it to Mr-there-is-enough-fabric-here-in-theory-let-me-figure-it-out. While he was figuring out I was correct... well technically he was right, there was enough fabric but the piecing would be a nightmare... I went back through my stash. I grabbed a piece of fabric every quilter who has ever made it through the IKEA maze has used as a backing: the big number fabric. And TA! DA! Finished quilt.

Well, it wasn't quite that easy. I had trouble orienting and hooping the fabric. I had trouble with my machine. I had trouble with the thread breaking. But finally last week, I decided it was time to git 'er done. Finished the quilting and today I was able to put on the binding on.

I know that technically it isn't finished. The binding needs to be hand stitched. But I promised Mr-I-can-stitch-the-binding-and-that-one-is-less-than-a-football-game that he could do it. So, technically I am finished with this WIP and can cross it off a multitude of lists!
The details:
47 x 47 inches. Made from Quilters Cotton in sage green and black. Backing from IKEA. Polyester batting. Machine pieced. Embroidered quilting.
Subscribe to:
Posts (Atom)